1Your Heropost link
In Heropost, open Home → Connect your AI tools → VS Code and press Copy. You get your link. The link is the key — no sign-in, no token.
2Where it goes in VS Code
- Run MCP: Add Server (⌘⇧P), choose HTTP, paste your link and press Enter.
- VS Code asks for a Server ID. Type heropost, or keep the one it suggests, and press Enter.
- It’s saved to your user
mcp.json. If it isn’t running yet, press Start above its entry.

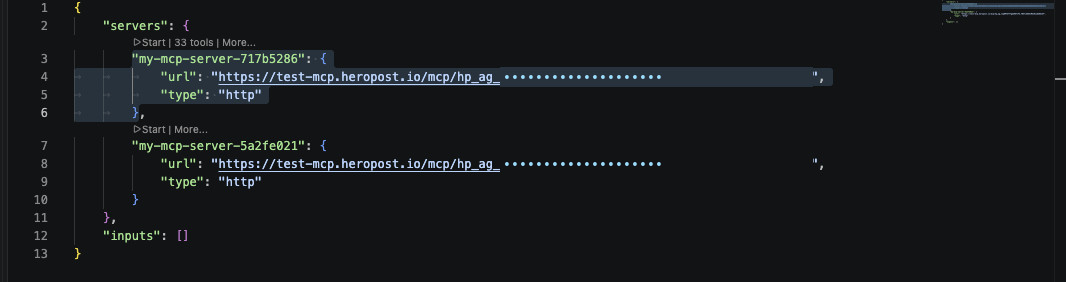
Prefer the file?
Add this to mcp.json:
{
  "servers": {
    "heropost": {
      "type": "http",
      "url": "https://mcp.heropost.io/mcp/hp_ag_…"
    }
  }
}3Try it
Ask VS CodeUse Heropost to create a draft post for Friday about …
Say use Heropost when you want something saved.
Then open Connect your AI tools → Activity in Heropost. A saved draft shows as create post · 1 action.
Good to know
- Who can connect
- Workspace owners and admins — they’re the ones who see Connect your AI tools.
- How many tools
- Every Heropost plan connects up to 3 AI tools, counted across all your workspaces. Agent Pro connects 10; Agent Agency has no limit. All in use? Remove one in the workspace where it’s connected, under Connect your AI tools → Your tools.
- What it can do
- You choose, in Your tools → VS Code → Permissions: drafts are always allowed; publishing, reading the inbox and which accounts are yours to switch. Replying in the inbox is on Agent Pro and Agency.
- The link is the key
- It’s shown once. New link replaces it and the old one stops working instantly; Remove cuts VS Code off.
- What it costs
- One action is one post saved or one reply sent. Reading, reporting and the writing itself are free.
- Your screen looks different?
- Tell support, with a screenshot and any error text. We update this guide from real screenshots.
Last checked: VS Code for Mac with Copilot Chat (add flow Sep 29, 2026; full test Sep 17, 2026), on a real Heropost workspace.